To complete this tutorial you will require the Computations module.
Aim
The aim of this tutorial is to show you how to place text objects within the SEE module.
You will learn how to:
- Select a code to define the required text attributes.
- Enter and place text.
- Edit the attributes of an existing text object.
- Move an existing text object.
Typical Scenario
Some text objects are needed to annotate a project before producing a plot.
Before you begin
Select this button to obtain the required data file.
Now proceed with the steps below.
- Set the Text Attributes
Select File/Open and open the file called "Text.see" in the Tutorial folder.
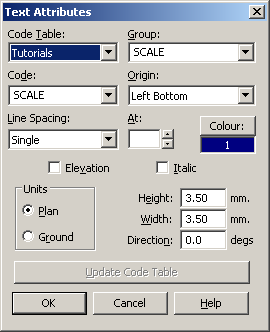
Select Task/Computations and then select Attributes/Text.

Use the Code field to select SCALE, which is a code set up with the required text attributes.
Select OK
- Place Some Text
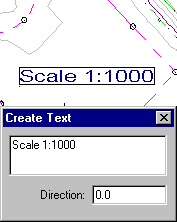
Select Create/Text.
Type in the following: "Scale 1:1000"Move the cursor (which will be attached to a box showing the text size) to the required text position, and click the left-hand mouse button to place the text.

Close the dialog.
- Edit the Text Attributes
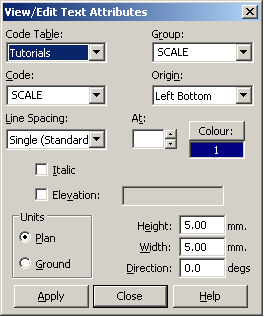
To change the size of the text select Edit/View Edit/Text.
Snap and accept the text previously placed to display its attributes in the dialog.
Change Height and Width to 5 in the dialog.

Select Apply to change the attributes of the selected text to the changed values.
- Move the Text to a New Position
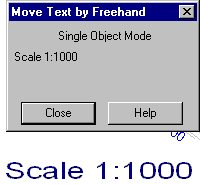
To move the text select Edit/Move/Text.

Snap and accept the text previously placed to see it displayed in the dialog.
Move the cursor to the required screen position and press the left-hand mouse button to move the text.
Close the dialog.
Conclusion
You have now completed this tutorial and should have a good understanding of how to create, edit and move text objects.
Refer also to Edit/Delete/Text to delete unwanted text objects.