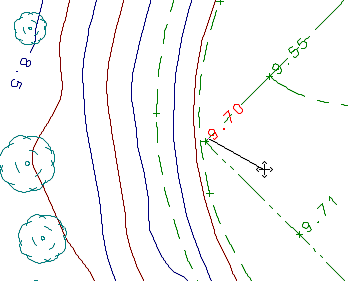
This will eliminate any overwriting and aid clarity in the final plan. The amount of overwriting depends on the density of data, the layers displayed, the scale of creation, and the size of the objects and text.
Careful setting up of the CAD Parameter File (CPF) and selection of an appropriate CAD Output scale in SEE will minimise the editing needed.
- Set the Search Filter to Only Look For Text Objects
Select Settings/Search Filter.
In the dialog, select None, Text and then OK. This will ensure that you will not waste time locating unwanted objects.
- Move the Text to the Desired Position
Select Edit/Move (Note the cursor change).
Use the View/1:1, Window and Pan tools to view the plan at a suitable size and look for text which should be moved.
To move a piece of text, first ensure that the Move cursor is active. (If you have been using a viewing tool, you will need to press the Snap mouse button).
Select the text, move the cursor to the required new location, and accept again. Continue moving text until you are satisfied.

Note: Multiple Selection
Use Edit/Select and Accept each object to be moved while holding down the Ctrl key. The selected objects will be highlighted. Then select Edit/Move and Accept two locations defining the movement vector. If you have highlighted an object by mistake select it again to unselect it.